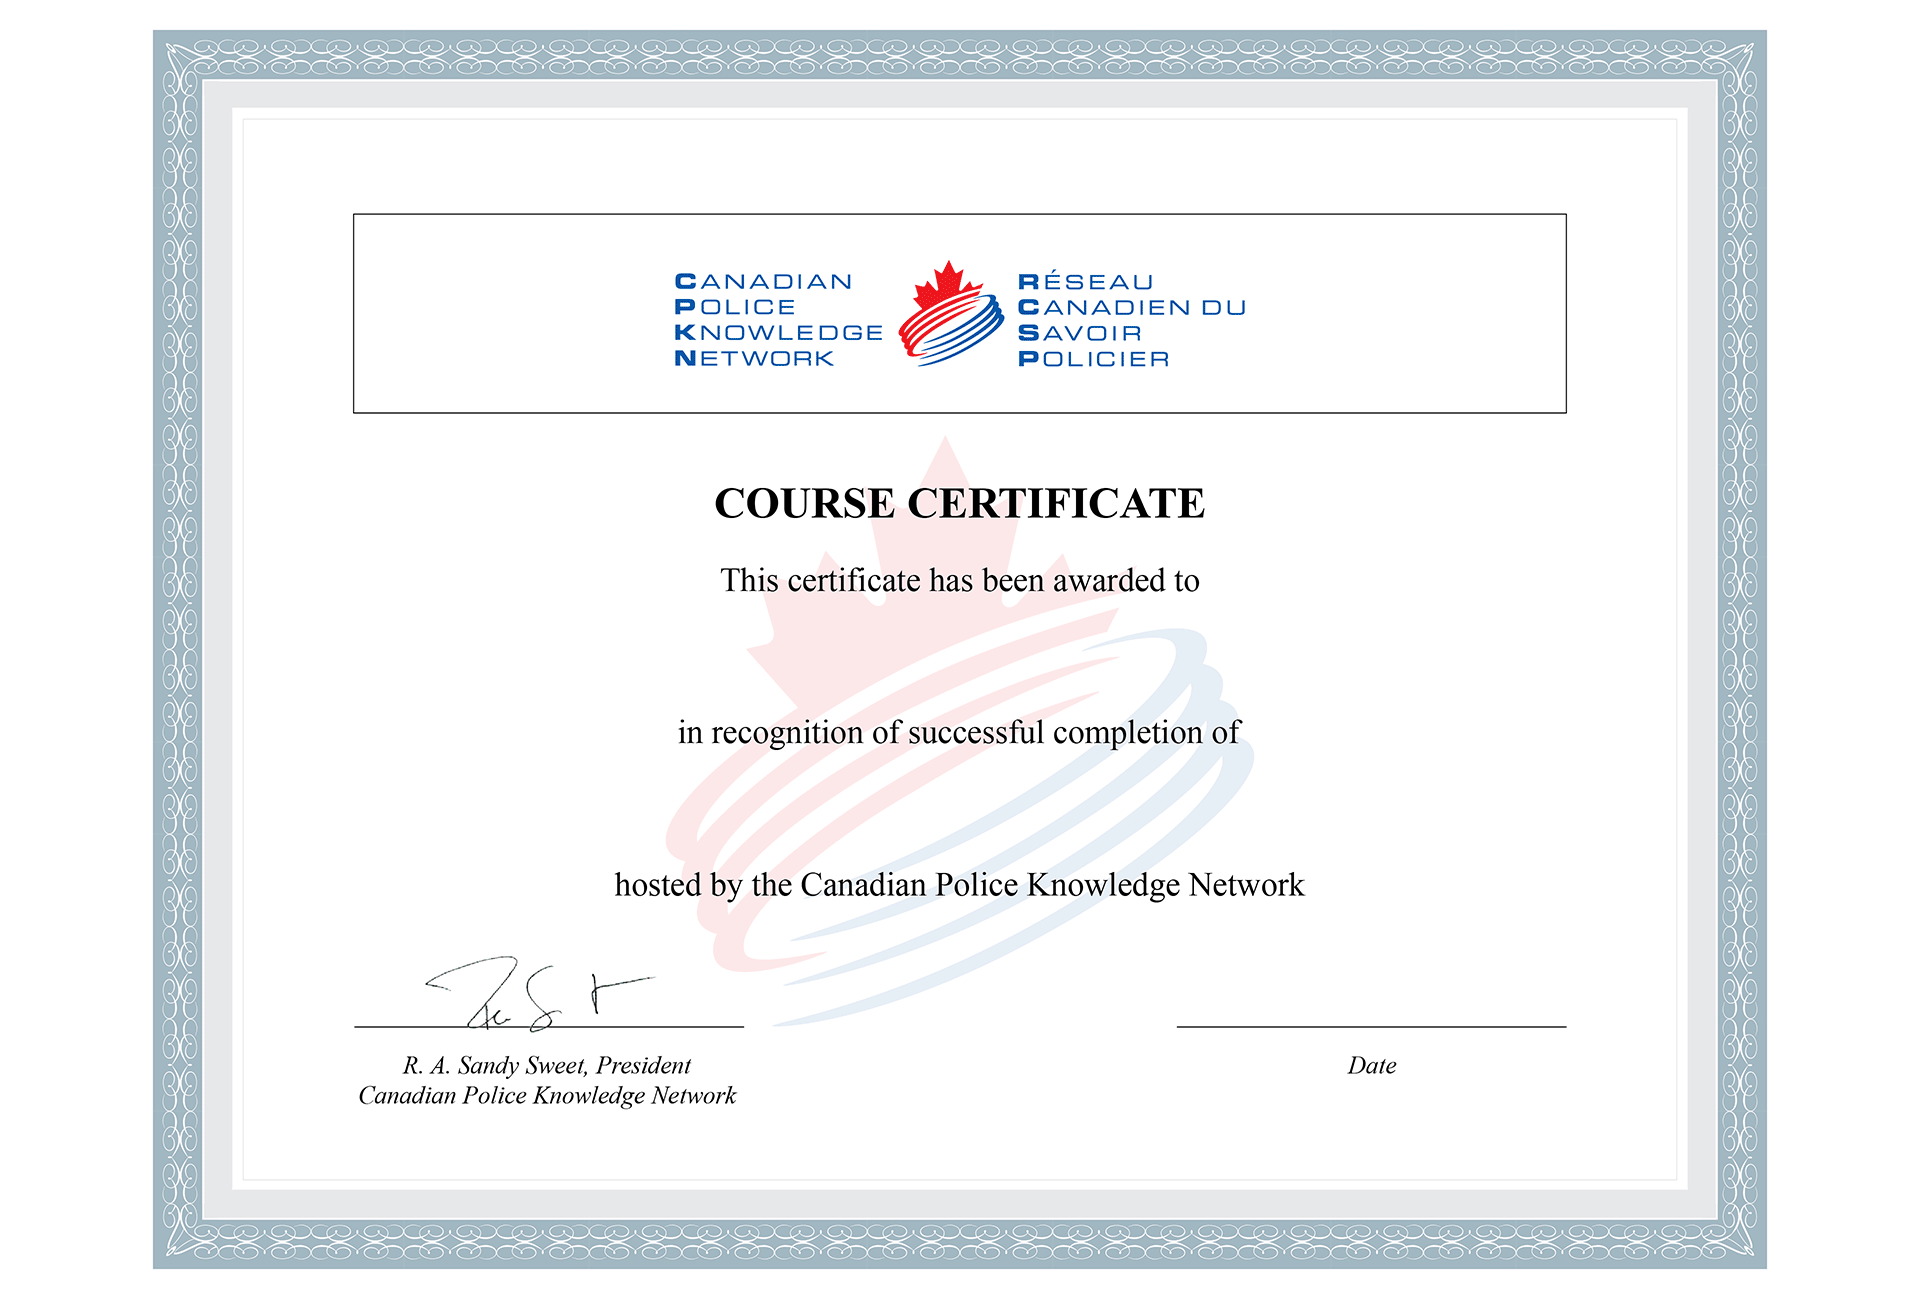



Adding Certificates to a Course
Tabs
Portal administrators can only add a certificate to a course if it is one of their own courses.
Click each panel to follow along with the steps to add a certificate:
Locate the course you are wanting to add a certificate to. Click on the ‘Settings’ tab, followed by 'Certificate'.

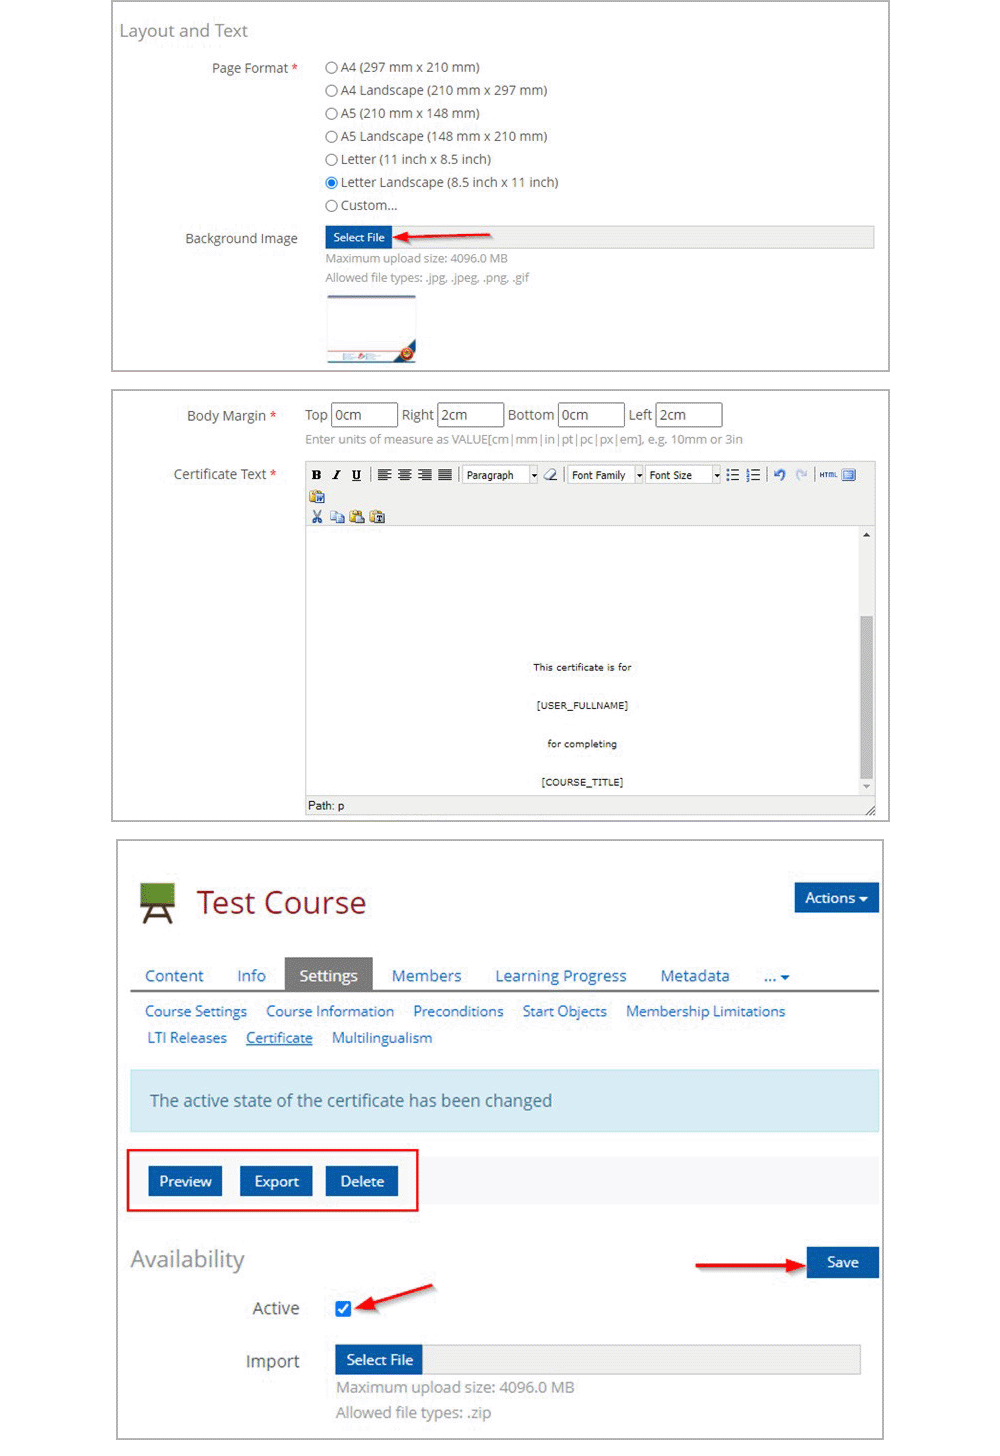
Scroll to the ‘Layout and Text’ section, then click ‘Select File’. This will allow you to upload an image to use as a background image for the certificate and edit/add text that will appear on the certificate.
One way to ensure the text is precise is by using the HTML editor. If you want to copy text from one certificate to add to another certificate, we’ve found that this is the best area to copy the text.
The HTML editor can be accessed through the HTML button on the editor (if this is not enabled for you, please contact CPKN’s Support Desk).
Once you have created your certificate, you can preview it by clicking on the checkbox for ‘Active’. This will add Preview, Export, and Delete button options for you to use.
You can also use the export option to export the entire certificate as a .zip file and import it to other courses through the use of the ‘Import’ button under ‘Availability’.
Once the certificate is active, users will receive the certificate in its current state upon completion of the course.
Note: It is recommended to work on a certificate in an offline/test course and import it to the live course when you are ready.